How to Compress Images Online in 3 Easy Steps?
Large image files often slow down websites, take extra storage, and hurt SEO. Many people do not realize that image size affects loading speed, user experience, and even ranking. Compressing images online is an easy and fast solution. It keeps your photos clear while cutting down the file size. You can do it in just three simple steps.

Imagine a small story. A travel blogger uploads hundreds of pictures from a new trip. Each image looks amazing, but her site becomes very slow. Visitors leave before the page even loads. She feels confused until she learns one simple fix image compression. Once she compresses all pictures, her website speed doubles, and her readers stay longer. This single change brings her website back to life.
Let’s explore how you can do the same.
Step 1: Choose a Reliable Online Image Compressor
Before you start, you need the right tool. Many free online tools can help you shrink image size without damaging quality. Choose one that supports common formats like JPG, PNG, and WebP. Look for options that offer both lossy and lossless compression. Lossy compression reduces more size but may remove small details. Lossless keeps all details but saves a bit less space.
A good compressor also gives bulk upload options, so you can handle many pictures at once. This saves time, especially if you run a blog, e-commerce store, or gallery. It should work fast, be secure, and not require any software download.
When selecting, try a few and compare. Upload the same image to multiple tools and see the result. Check how small the file becomes and whether the image still looks sharp. Choose the one that balances size and quality best for your needs.
Think of it like finding the perfect photo editor. It must be simple, effective, and reliable. Once you find a good compressor, bookmark it for future use.
Step 2: Upload Your Image
After selecting the tool, the next step is uploading your photo. Most online compressors make this process easy. You can click an upload button or drag and drop the image into a box. The upload usually starts right away. Some tools show a progress bar, so you know when it’s done.
If you have many files, check if the tool allows multiple uploads. Bulk upload saves a lot of time. Instead of doing one picture at a time, you can compress a whole folder at once. This is perfect for bloggers, photographers, and web developers who manage large image sets.
Imagine our travel blogger again. She has hundreds of photos from a trip. Uploading them one by one would take all day. With bulk upload, she selects the entire folder and walks away. By the time she returns, the files are ready to download smaller, cleaner, and faster for the web.
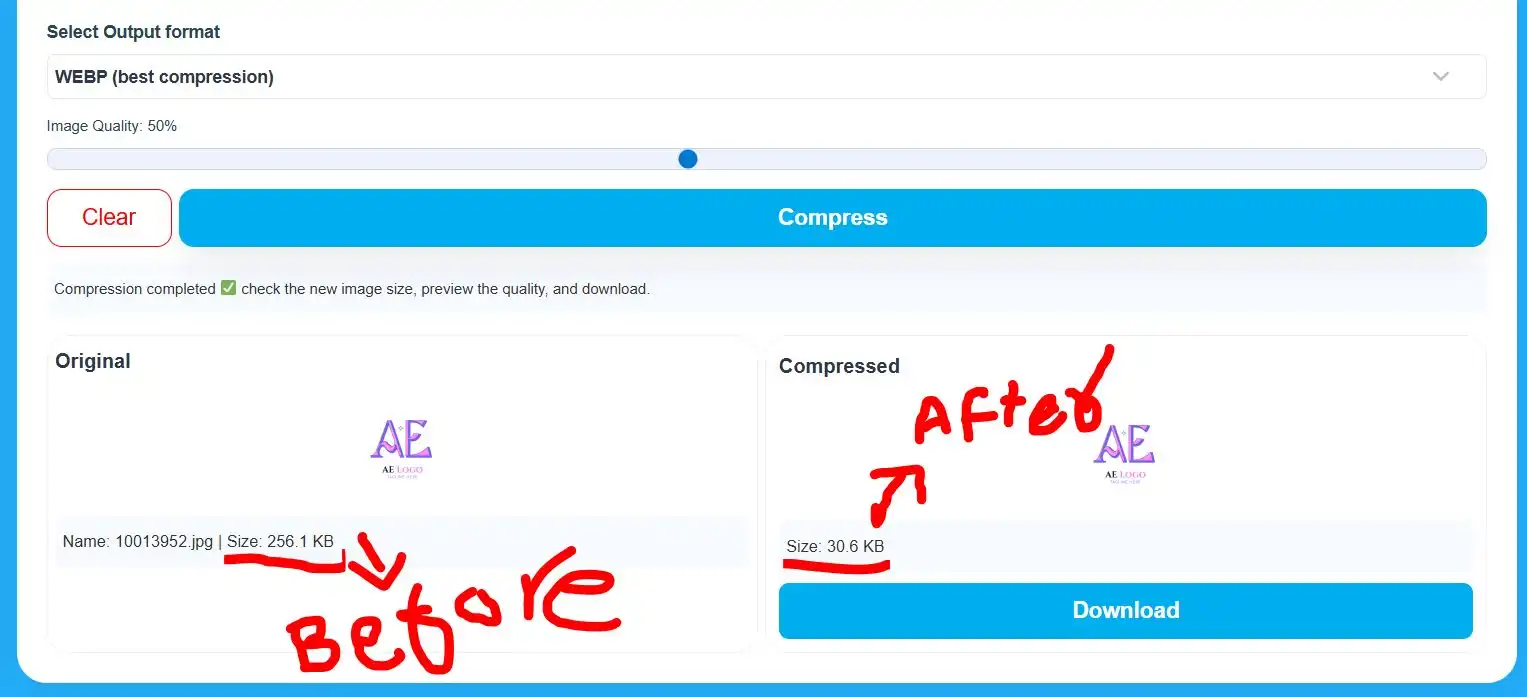
Step 3: Choose Compression Level and Download
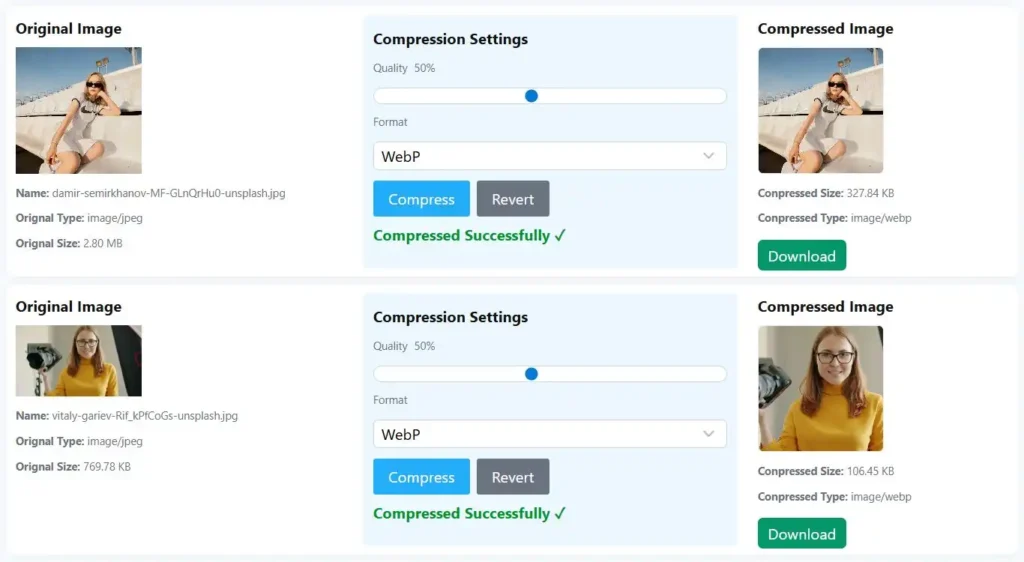
Once your image is uploaded, you usually see options for compression level. These might be called low, medium, or high. Some tools let you move a slider to adjust how much compression you want. The higher the compression, the smaller the file but too much can blur details.
Preview the result before downloading. Many compressors show a side-by-side comparison of the original and compressed image. Look closely at the edges, colors, and text if there’s any. If the picture still looks good, it’s ready to save.
Click the download button and store the new image on your device. Some tools also let you download all compressed images as a zip file. Always keep your original images as backups, just in case you need them later for print or editing.
For example, a 5 MB picture can shrink to 400 KB while still looking almost the same. That’s more than ten times smaller. WebP format can go even further, saving size while keeping sharpness.
Now your images are ready for your website, email, or social media.
Benefits of Compressing Images Online
Image compression brings many benefits beyond smaller files. It makes your website faster, which improves both user experience and SEO ranking. People stay longer on pages that load quickly. Fast websites also get better scores in search engines.
Compressed images use less storage. That means you can keep more files on your device or server. It also saves bandwidth, which reduces hosting costs. For anyone running a site, that’s a big plus.
Sharing images also becomes easier. Smaller files upload faster on social media, blogs, and emails. It’s a small step that makes a big difference in everyday digital work.
Bulk Image Compression for Efficiency
Working with many images can be a real challenge. Doing it manually wastes time and energy. Bulk image compression solves this by allowing dozens or hundreds of pictures to be processed in one go.
Bulk mode is ideal for photographers, e-commerce owners, and designers. It keeps quality consistent and reduces manual effort. Instead of spending hours, you can compress a full album in minutes.
For example, a fashion store with 500 product photos can compress all files at once before uploading. Each image becomes smaller, making product pages load instantly. Customers browse smoothly, and search rankings improve because the website runs faster.
Best Practices for Image Compression
Keep these simple and useful tips in mind:
- Use the right format for each image type. JPG works best for photos, PNG for graphics or transparent backgrounds, and WebP for web optimization.
- Resize images before compressing. Uploading huge files just to display small pictures wastes space. Always match image dimensions to where they’ll appear on your site.
- Check image quality after compression. Make sure colors and details still look good. Don’t overcompress blurry images look unprofessional.
- Name your files clearly and use descriptive words. For example, instead of “IMG1234.jpg,” name it “sunset-view-in-usa.jpg.” Search engines understand descriptive names better, which helps SEO.
- Add alt text for accessibility and ranking. Describe what the image shows. This helps people using screen readers and gives search engines context about your content.
Keep compressed images under 300 KB if possible. They load faster on both mobile and desktop.
Common Mistakes to Avoid
Overcompressing is one of the most common mistakes. It can make your images look dull or pixelated. Always find the balance between size and clarity.
Another mistake is ignoring bulk compression when you handle many images. Doing it one by one wastes time and causes inconsistency.
Many users also forget to optimize file names and alt text. This small detail can impact how your images appear in search results.
Some people upload very large photos and rely on their website to resize them. That doesn’t actually reduce the file size it only changes how it looks on the page. Always resize before uploading.
Finally, some forget to clear cache after updating images. Visitors might still see old, heavy files. Always refresh your cache or CDN after uploading new images.
Use Cases and Real Examples
Let’s revisit a few practical stories.
A wedding photographer takes thousands of pictures. She needs to upload previews for clients but cannot send 20 GB of photos each time. By compressing them online, she reduces the total size to under 2 GB without losing visual quality. Her uploads become fast, and clients can view albums smoothly.
A tech blogger often includes screenshots in every article. At first, each post loaded slowly because of heavy PNG files. After compressing and switching to WebP, his blog loads twice as fast. His search visibility improved, and bounce rate dropped.
An online store owner uploads hundreds of product images weekly. Without compression, her site became heavy, and users left before pages opened. She started using a bulk compressor and set a rule: all images must be under 200 KB. Sales increased because customers could browse freely without waiting.
These are simple but powerful results from using online image compressors.
Technical Benefits of Image Compression
Compressed images improve many technical aspects of your website. They lower page weight, reduce load time, and enhance performance scores. When pages load faster, visitors stay longer, reducing bounce rate. Search engines notice these improvements and reward your site with better visibility.
They also save server space and bandwidth. This means backups, uploads, and data transfers become smoother. For users on slow networks or mobile data, small images load instantly. It improves user experience for everyone, not just those with fast connections.
Image compression also helps crawlers index pages more efficiently. Lighter pages mean less strain on your server and faster crawling speed. That leads to more of your content being indexed.
Bulk compression further boosts workflow efficiency. Once set up, it lets you handle large volumes of images in one step. You spend less time managing files and more time creating content.
Best Practices Recap
Always test your compression settings. Choose a balance that works for both quality and size. Resize images before compressing, use descriptive names, and provide alt text. Preview every image before downloading to ensure it looks good on different screens.
Maintain a clean workflow. Keep original images stored separately. Compress only copies for online use. Update your site’s cache whenever you upload new compressed files.
Avoid mixing file formats unnecessarily. Use consistent settings for your whole project to maintain a uniform look.
FAQs
Can I compress images online for free?
Yes. Many online compressors let you upload and shrink images without cost or sign-up.
Will compression reduce image quality?
Proper compression keeps visual quality almost the same. Always preview before saving.
Can I compress many images at once?
Yes. Use bulk compression tools to process multiple files together.
Does image compression really improve website speed?
Yes. Smaller image files load faster, which helps both users and SEO ranking.
Which image format should I use for websites?
JPG for photos, PNG for transparent images or icons, and WebP for best web performance.
Should I keep original images after compression?
Always keep the originals for backup or future edits. Use compressed copies for online uploads.
Final Thoughts
Compressing images online is simple yet powerful. You don’t need advanced design skills or software. Just follow three steps: choose a reliable tool, upload your image, select compression level, and download the optimized version.
Every website owner, blogger, or designer should make image compression part of their routine. It speeds up websites, saves storage, and boosts SEO. Visitors enjoy faster pages, and search engines favor well-optimized sites.
Start today by picking a free online image compressor. Try it on your next post or project. You will notice faster load times, lighter pages, and smoother performance.
By following these small but important steps, you make your website stronger, smarter, and more user-friendly. Fast pages make happy users and happy users mean better results for your business.
So compress your images, save your time, and let your content shine.